
Every customer file.
Production ready.
Upload a customer file. MajorDTF removes the background, sharpens blurry art, cleans the edges, and hands you back a file that's ready to print — in about a minute.
We auto-delete your files after 30 days · We never train on your artwork
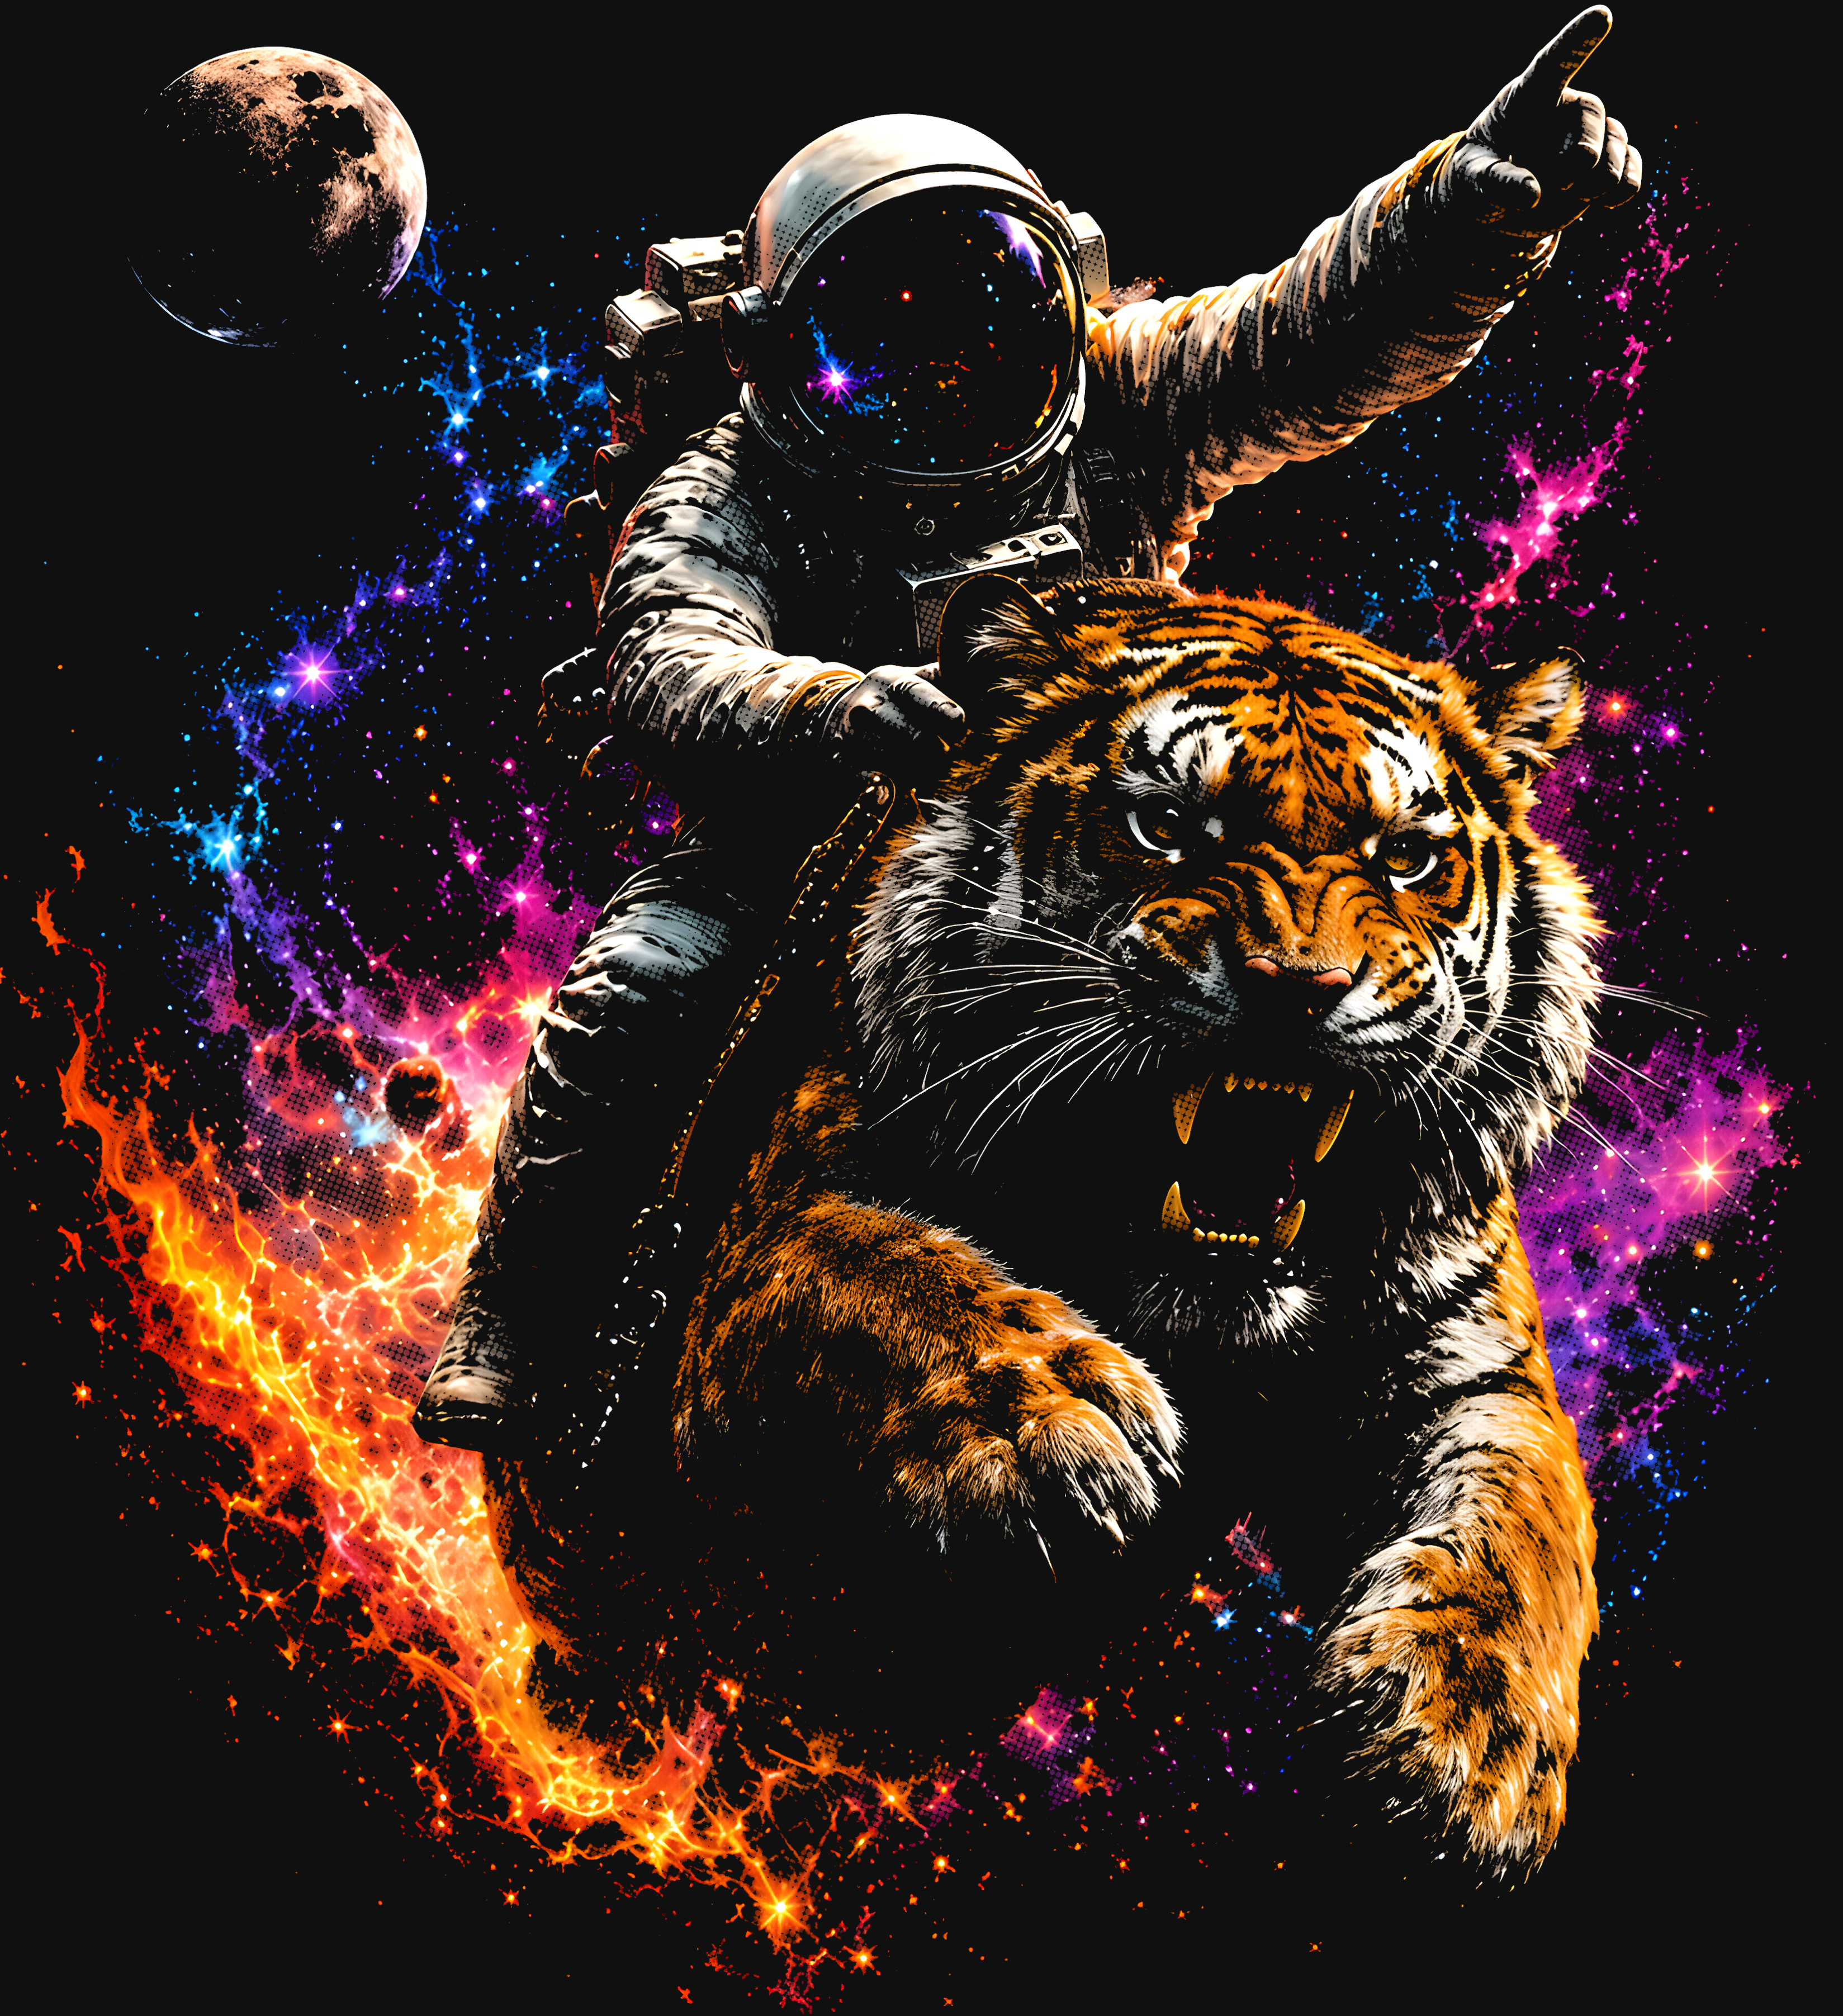
Your exact print size, crisp at 300 DPI
We scale your art to the width you ask for, at a sharp 300 DPI. It prints clean even if the file you started with was small.
Thin lines protected
Thin lines and small text get an outline in your shirt colour, so they stay on the transfer instead of falling off.
Transparent, press-ready PNG
Background removed, edges cleaned, extra space trimmed away. A clean transparent file, ready to send to the printer.
Garbage in.
Print ready out.
Low-res photo, tiny export, screenshot off a phone — feed it in and get a clean, sharp, 300 DPI print-ready file back.
Tricky low-res source → clean, upscaled transfer
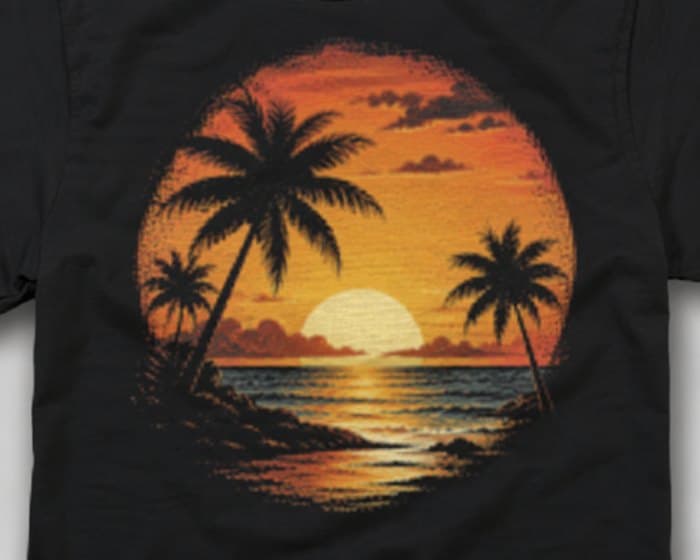

Send a phone screenshot of a logo. You get back a clean transparent file at your exact print width, 300 DPI, ready to print.
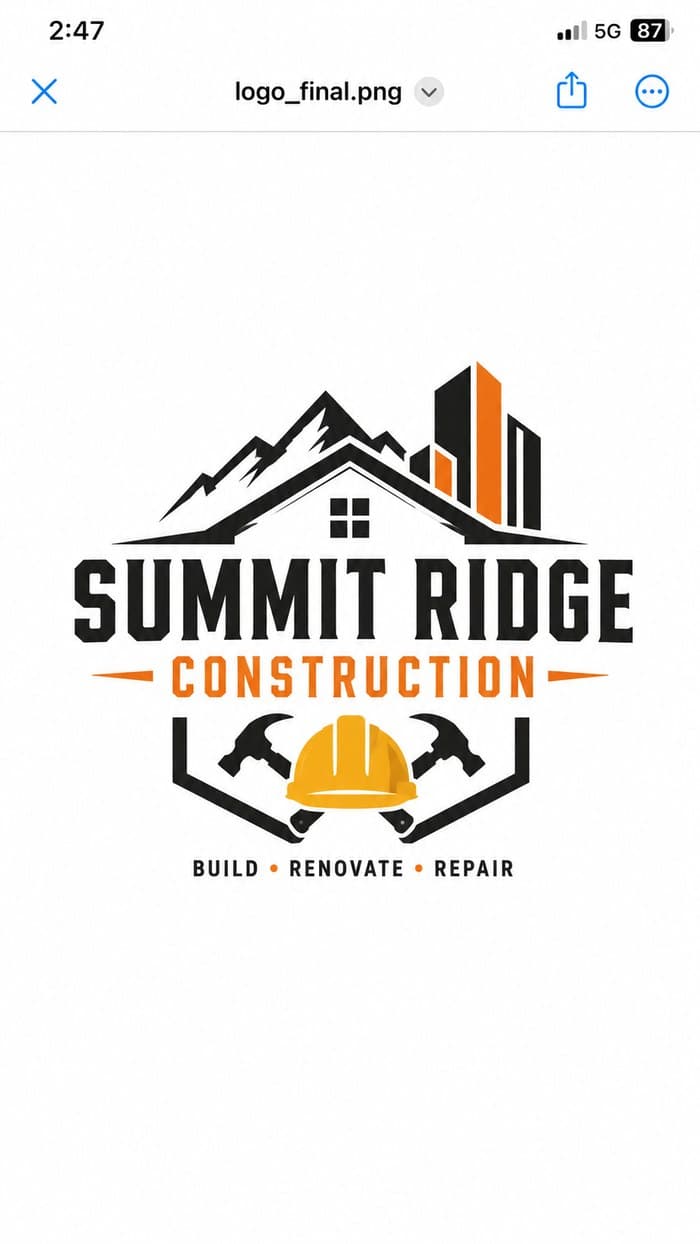

Download the full-resolution output

Halftones that
melt into the shirt.
We turn the art into tiny dots that fade into the shirt colour: solid in the dark parts, small dots in the middle, nothing at the edges. One file, shown on different shirt colours.
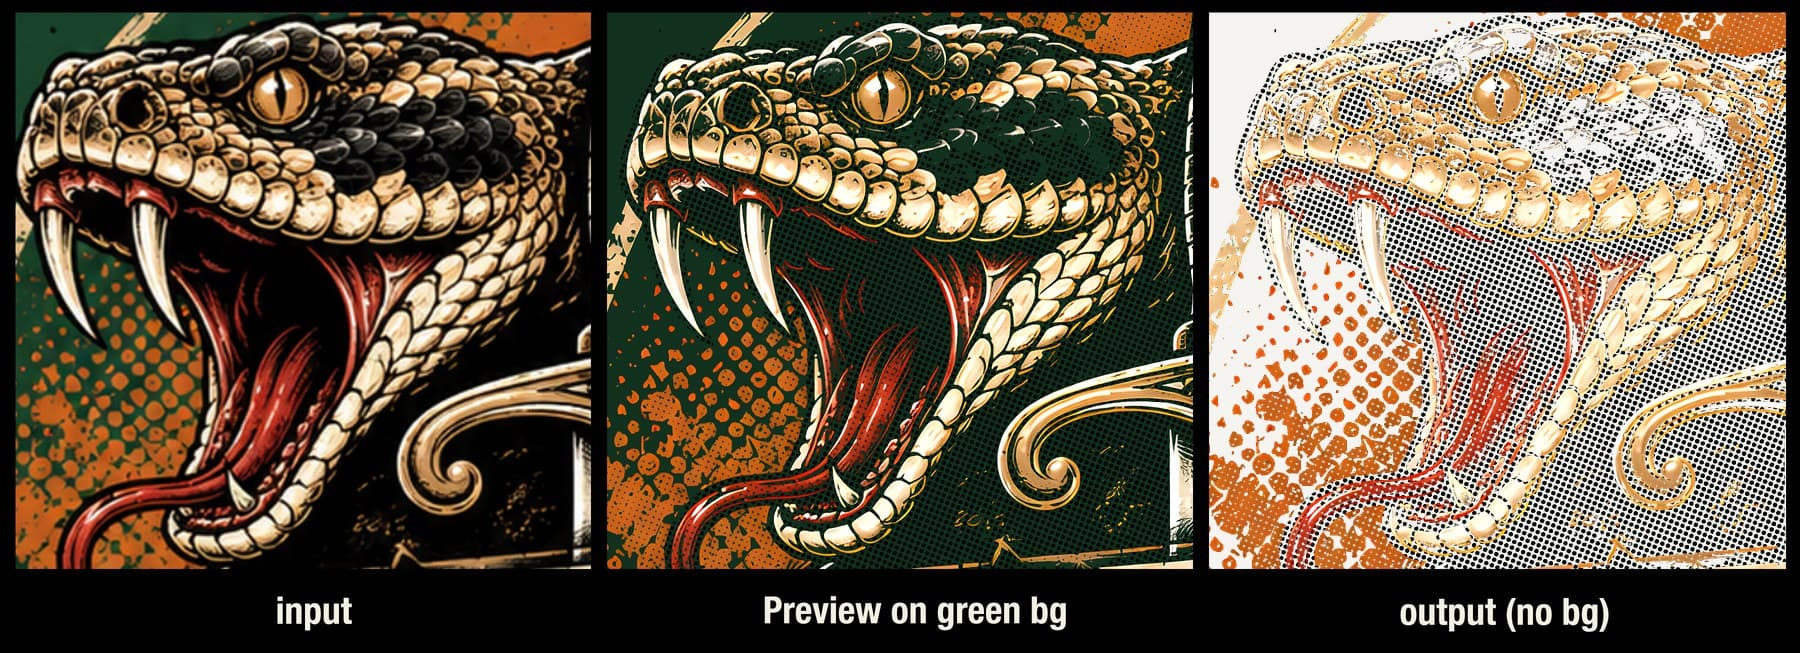
Same file · previewed on any garment
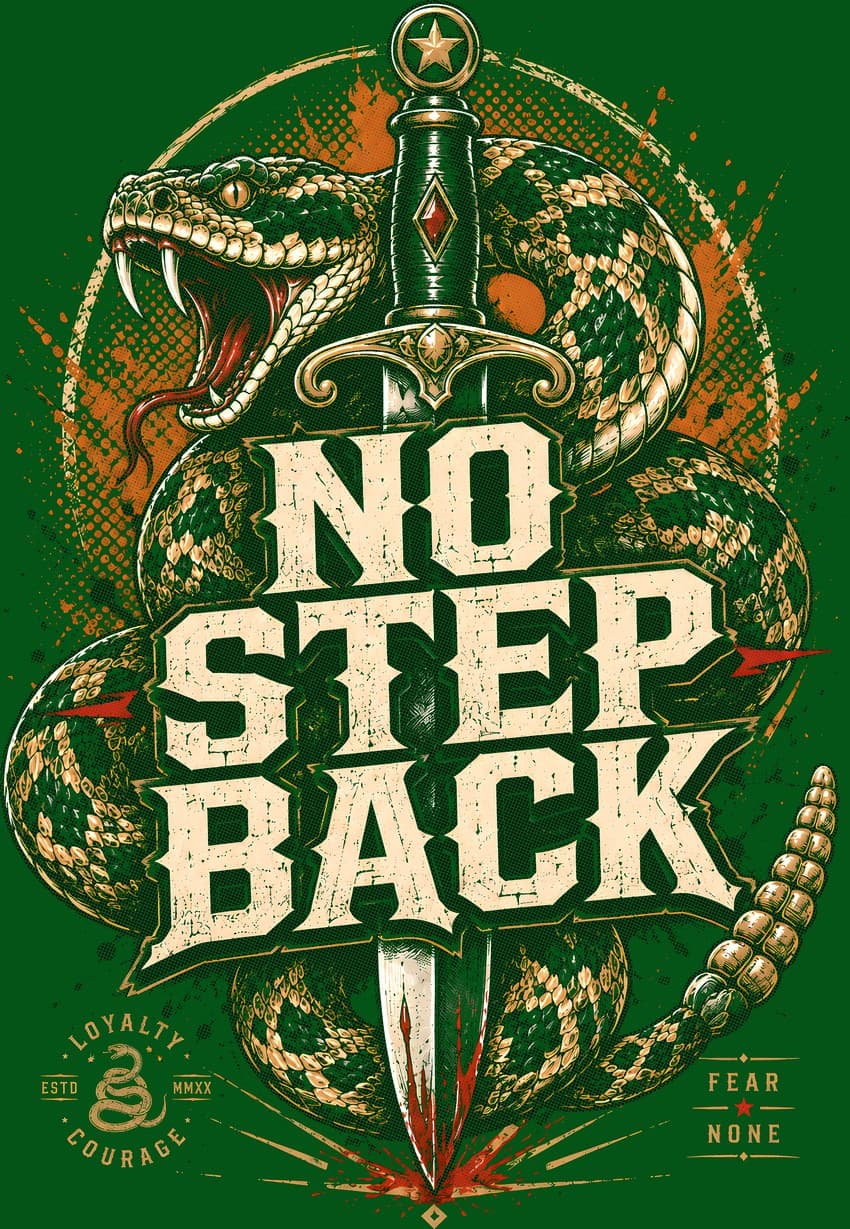
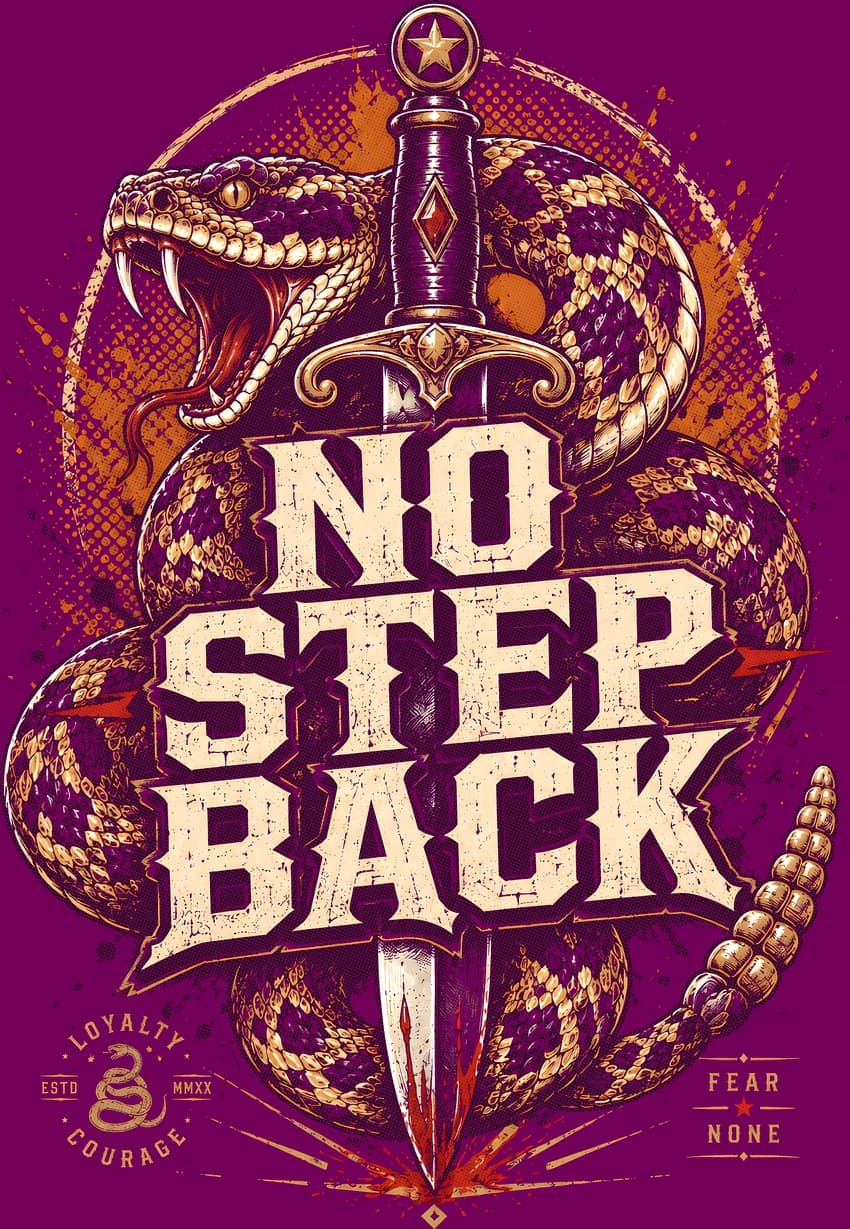
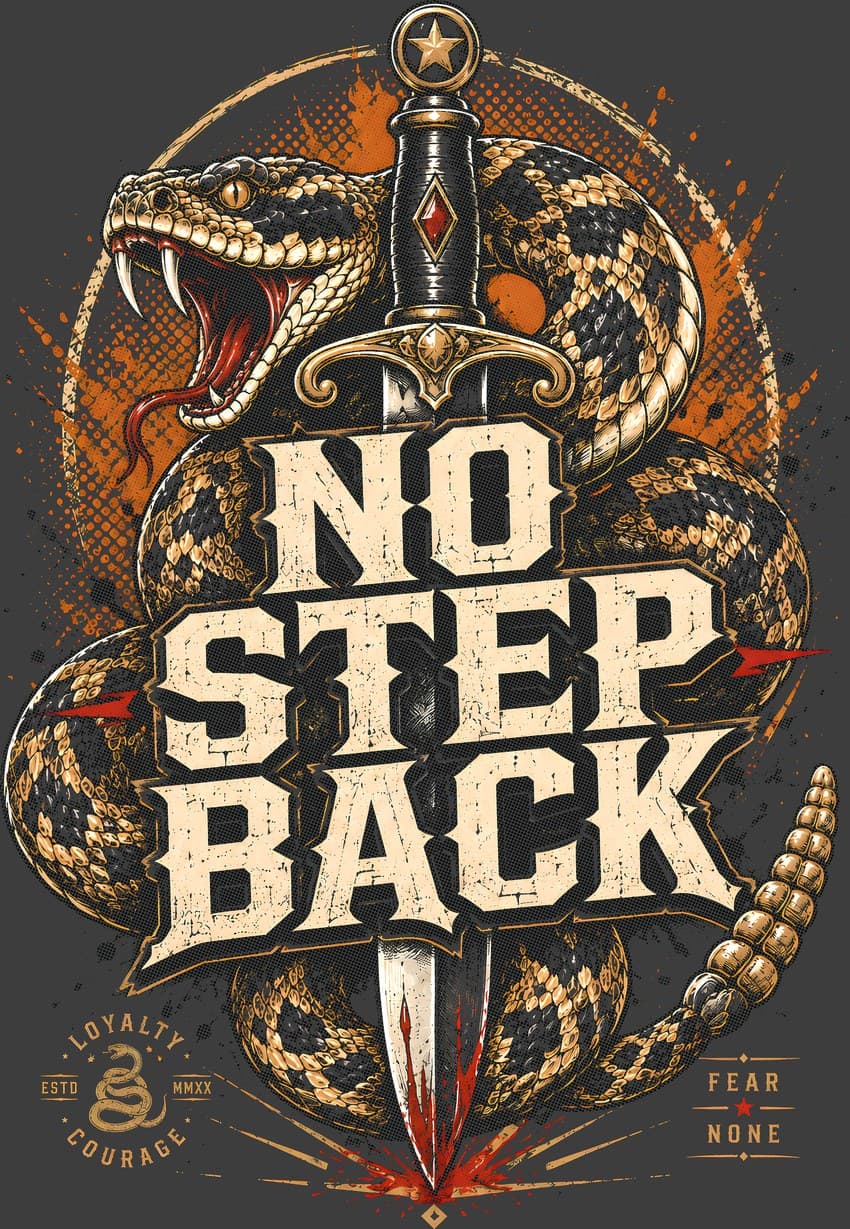
Download the full-resolution output

Prep
Removes the background, cleans the edges, trims the extra space, and scales the art to your exact print width at 300 DPI. You can also remove one shirt colour, or add a halftone.
- HTTP
- POST /v1/prep
- MCP
- prep_artwork
- Output
- 300 DPI transparent PNG
Vectorize
Traces your exact art into a vector file that stays sharp at any size — no AI redrawing. Keep every colour, or limit it to a few clean colours for screen print. We can remove the background first if you need it.
- HTTP
- POST /v1/vectorize
- MCP
- vectorize_artwork
- Output
- Vector SVG
Recolor
Swap one colour for another, or make the whole design a single colour. Works on both PNG and SVG files without hurting quality.
- HTTP
- POST /v1/recolor
- MCP
- recolor_artwork
- Output
- PNG or SVG, same as source
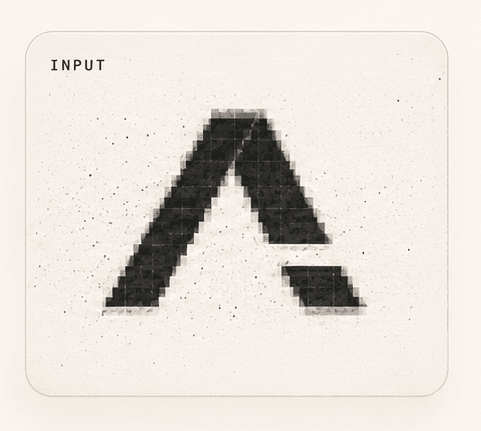
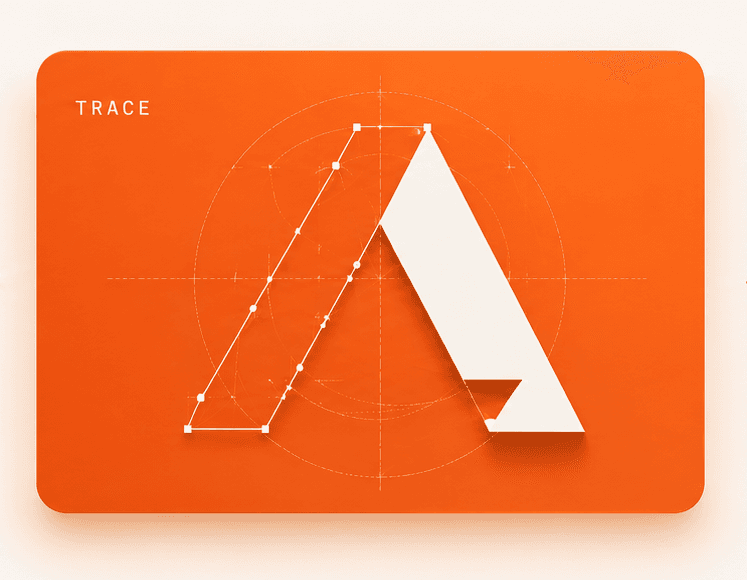
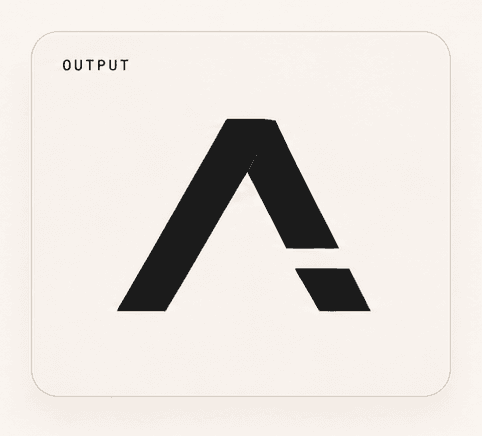
Your art traced into sharp vector lines — true to the original, never AI-redrawn. Make it billboard-size and it stays sharp.
Background Removal
Picks the best way to remove the background for each file, then cleans up the edges.
300 DPI at Print Size
Scales to the exact width you ask for, trims to the artwork, and embeds 300 DPI in the PNG.
Garment-Colour Knockout
Pick one shirt colour to remove it from the design — or skip it and keep every colour.
Halftone Blending
Turns the art into tiny dots that fade into the shirt colour — solid in the middle, gone at the edges.
Thin-Line Protection
An optional thin outline in the shirt colour keeps small text and thin lines from falling off the print.
Thin-Line Detection
Warns you how much of the design is too thin to print well — before you print it.
Coming soon: AI salvage preview · transfer ordering · learning-based tuning
A whole team’s worth of lettering. In one go.
Numbering a roster is the worst hour in the shop — one name at a time, one number at a time, arcing every last one by hand. Drop the roster in, style the lettering once, and every player comes back print-ready.
Drop a CSV — or a photo of the sign-up sheet, a screenshot, a coach’s messy text. AI reads it and sorts out names, numbers, and sizes.
Then build the lettering the way you would by hand: a fill, a stroke, a second stroke floated off the letter for that two-colour twill edge, an arch across the shoulders. Set it on one player and the whole roster follows.
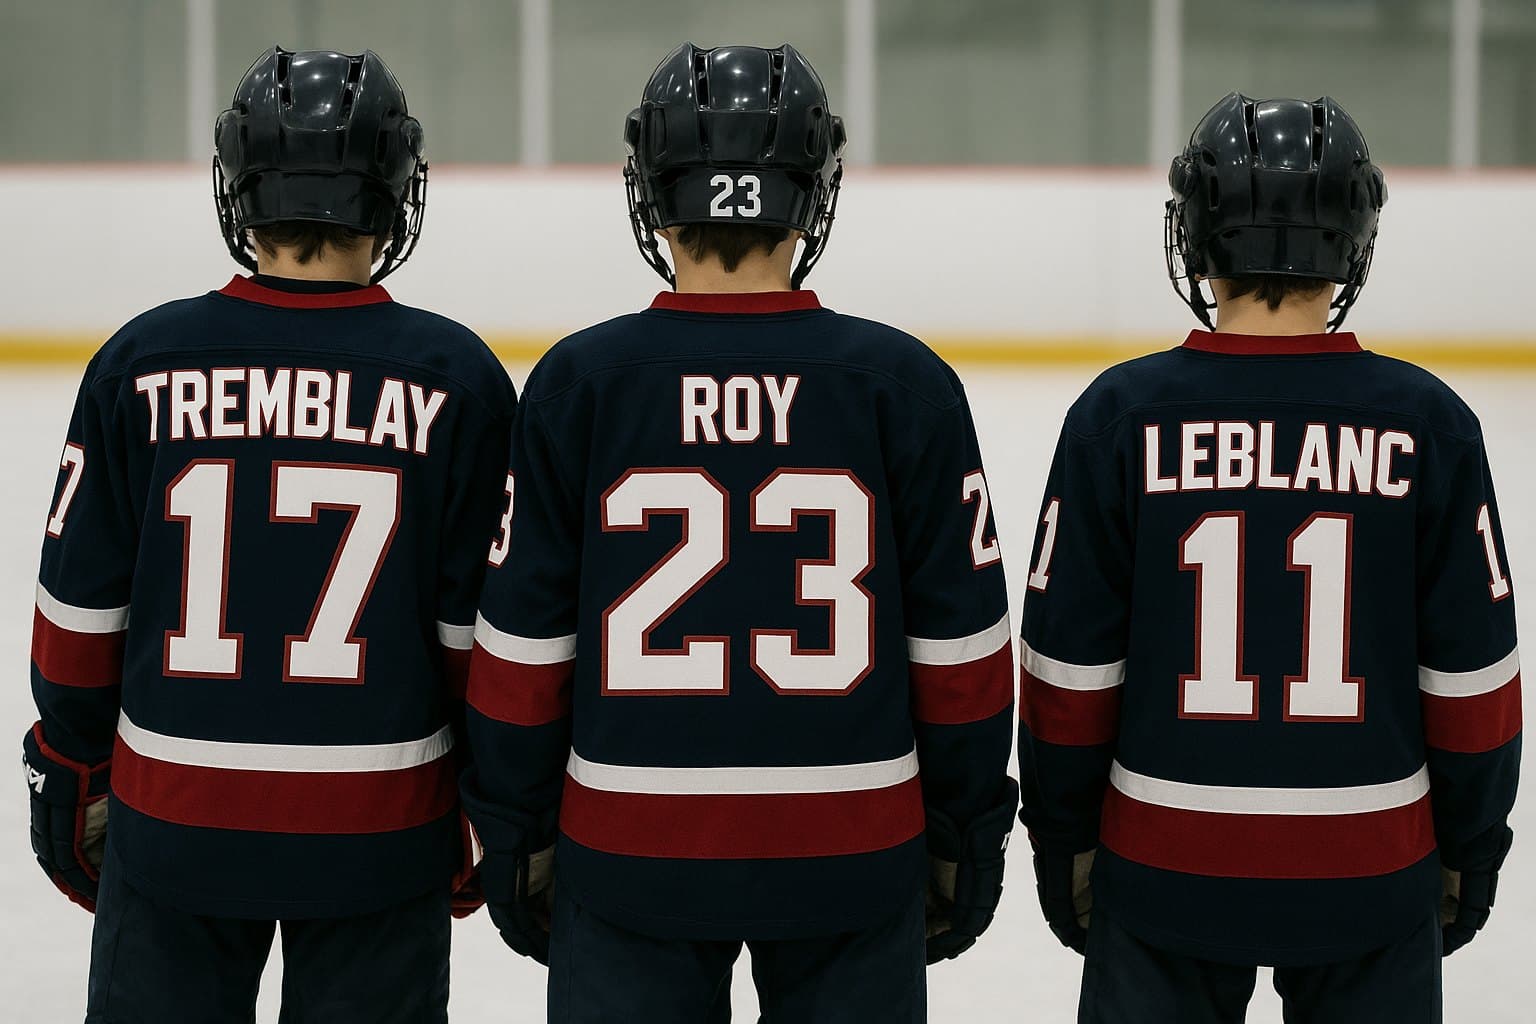
Any roster, any format
CSV, a pasted list, a screenshot, a photo of the sign-up sheet. AI pulls out the names, numbers and sizes.
Stack fills and strokes
Build the lettering in layers like Illustrator's Appearance palette: a fill, then as many strokes as you want, each with its own colour and width in inches. Reorder them top to bottom.
Offset outlines
Give a stroke a gap and it lifts off the letter, leaving see-through space between — the classic two-colour tackle-twill look, in one click.
Arch, spacing, stretch
Arch or bow the name, tighten or open letter spacing, and stretch width and height independently — strokes and gaps scale with it.
Your font, your sizes
Eleven print faces bundled, or upload your own TTF, OTF or WOFF. Set the name height once and a number size per player.
300 DPI, transparent
Every piece rendered at true print size on transparent, named {number}_{name}_{size} — the same output spec as the prep engine.
Preview on the garment
Drop the artwork onto the shirt colour before you commit. Files stay transparent; the preview is just for your eyes.
ZIP or gang sheet
One file per player, or the whole team nested onto a 22-inch gang sheet ready to send to the printer.
Coming soon: /v1/roster — number a whole team from the API or an agent, same as prep and vectorize.
Your agent calls MajorDTF over MCP, same engine as the HTTP API. Prep, vectorize and recolor, with inline results returned right in the chat.
prep_artworkimage → print-ready PNGvectorize_artworkraster → vector SVGrecolor_artworkswap or tint colours
claude mcp add --transport http majordtf \
  https://worker.majordtf.com/mcp/ \
  --header "Authorization: Bearer mdtf_live_..."
View MCP docs →
Steps 1 and 6 only run when needed: we upscale only if your file is smaller than print size, and halftone only if you ask for it.
curl -X POST https://worker.majordtf.com/v1/prep \
  -H "Authorization: Bearer mdtf_live_..." \
  -H "Content-Type: application/json" \
  -d '{ "image_url": "https://example.com/logo.png",
        "print_width_in": 11,
        "garment_colors": ["#1a1a1a"] }'
# -> { "file_url": "…/clean.png", "width": 3300, "method": "ai" }curl -X POST https://worker.majordtf.com/v1/vectorize \
-H "Authorization: Bearer mdtf_live_..." \
-H "Content-Type: application/json" \
-d '{ "image_url": "https://example.com/logo.png",
"clean_first": true,
"n_colors": 24 }'
# -> { "file_url": "…/trace.svg", "bytes": 48213 }curl -X POST https://worker.majordtf.com/v1/recolor \
-H "Authorization: Bearer mdtf_live_..." \
-H "Content-Type: application/json" \
-d '{ "image_url": "https://example.com/logo.png",
"swaps": [{ "from": "#ffffff", "to": "#000000" }] }'
# -> { "file_url": "…/recolor.png", "ext": "png" }Bearer auth · 1 credit per call · clean signed file URL valid 24h.
View API docs →This is so sick — I'm literally saving hours of work every week. The roster designer is a game changer for our shop.
You know the price before you run it.
One currency, one rule: simple tools cost 1 credit, AI Redraw 2, Pro Redraw 4 — same price everywhere. Credits are 50¢ CAD, cheaper in bulk. Previews are free — you only pay when you download.
or $490/yr — 2 months free
- ✓ Unlimited prep, vectorize, recolor, halftone & gang sheets
- ✓ 100 credits every month for AI redraws (that’s 50 Standard or 25 Pro — same 2/4 prices as everyone)
- ✓ Batch mode & 30-day file storage
- Fair use: 1,000 files/month — one shop, not a reseller
Less than two art fees. Cancel anytime.
Is it worth it?
A designer charges $15–30 to fix one bad customer file. Your team spends 15–30 minutes doing it by hand. Shop Pro pays for itself on the second file of the month — every simple file after that is free.
Doing serious volume? Talk to us about a volume plan.
Prices in CAD. Credits never expire.
API & MCP: same prices — simple operations 1 credit, AI redraws 2 Standard / 4 Pro (vectorize with redraw included).